Posts by jottingjennifer

It didn’t take me very long to take my Silhouette out of the box. I had been waiting for a machine like this for years so I couldn’t wait a minute longer. The machine runs through a computer so I needed to install some software and get things all set up before I could make my first official cut. Luckily, setup didn’t take long and I was cutting fun shapes in a matter of minutes!
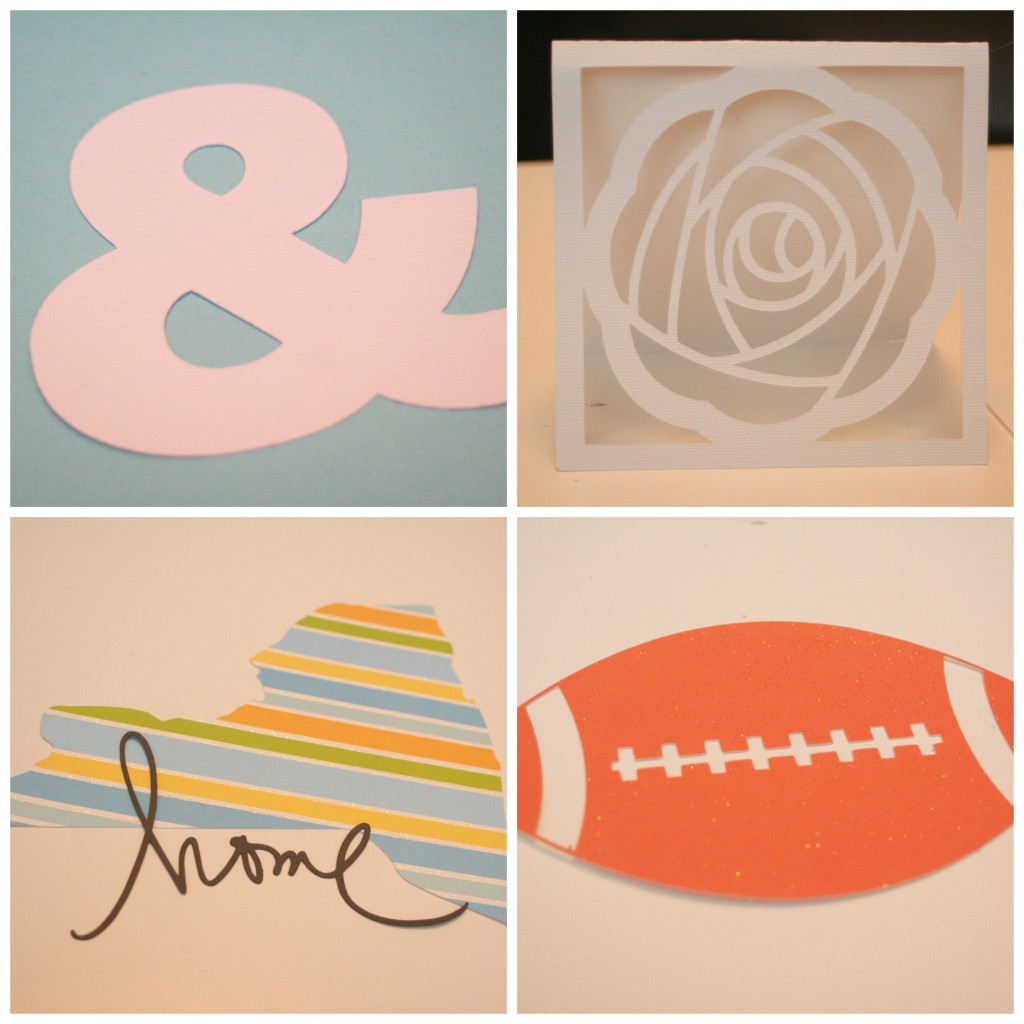
firstcutsI just wanted to keep cutting things! // Personal photos

After some playing, it was time to get down to business. When I was first contemplating the value of purchasing the Silhouette, I immediately thought of our invitations and the different pieces I could make using the Silhouette. Mr. PB and I both like pocketfold invitations but I couldn’t believe the cost of just the pocketfold. Most places sell pocketfolds from about $0.70 to $0.90 each. If I could cut a pocketfold with the Silhouette, that means I could just purchase packs of charcoal gray 12″x12″ paper and use that. A pack of 25 sheets of paper runs about $9, which equals out to about $0.36 per pocketfold – just about half price! The only problem with this idea – I would need to create the template in the Silhouette software for the pocketfold. It was definitely a learning process and took me a couple hours. (Note: pay no attention to the paper colors; they were just what I had on hand.)

pocketfoldevolutionThe first attempt failed thanks to a tiny flap, the second version fixed the flap but the inside wasn’t right and finally, the third time was a charm! // Personal photos
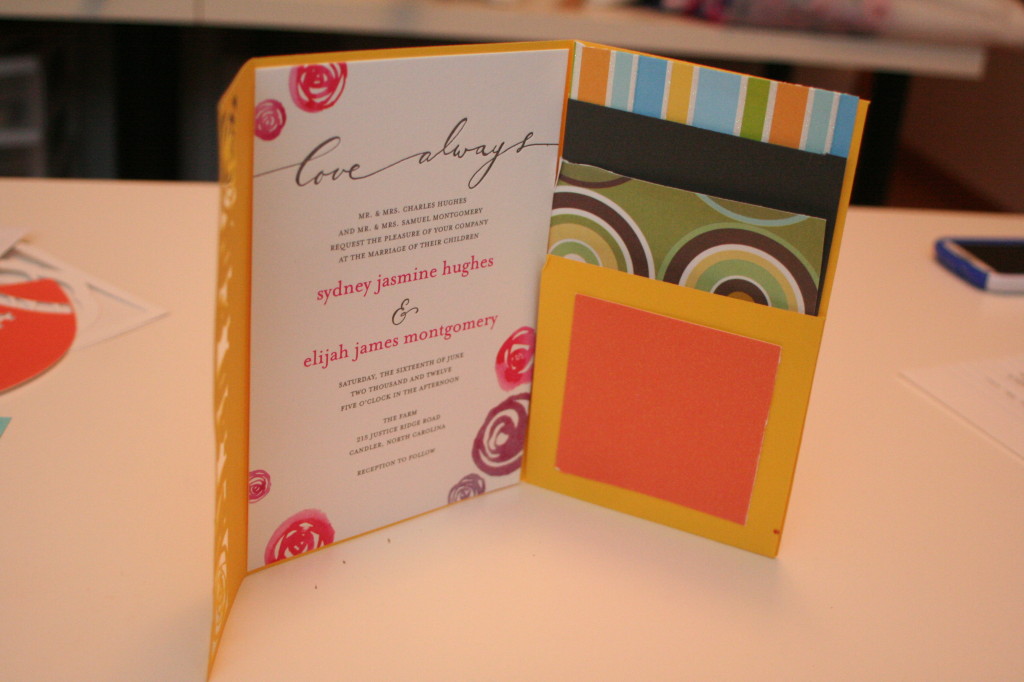
IMG_3452I used scrap paper as a visual to figure out how things would fit and a sample invitation I received in the mail as a placeholder. // Personal photo; Invitation: Wedding Paper Divas

After getting the template figured out, I figured I needed to jazz things up a little. If I have a machine that can cut intricate designs, why not use it to the fullest advantage?
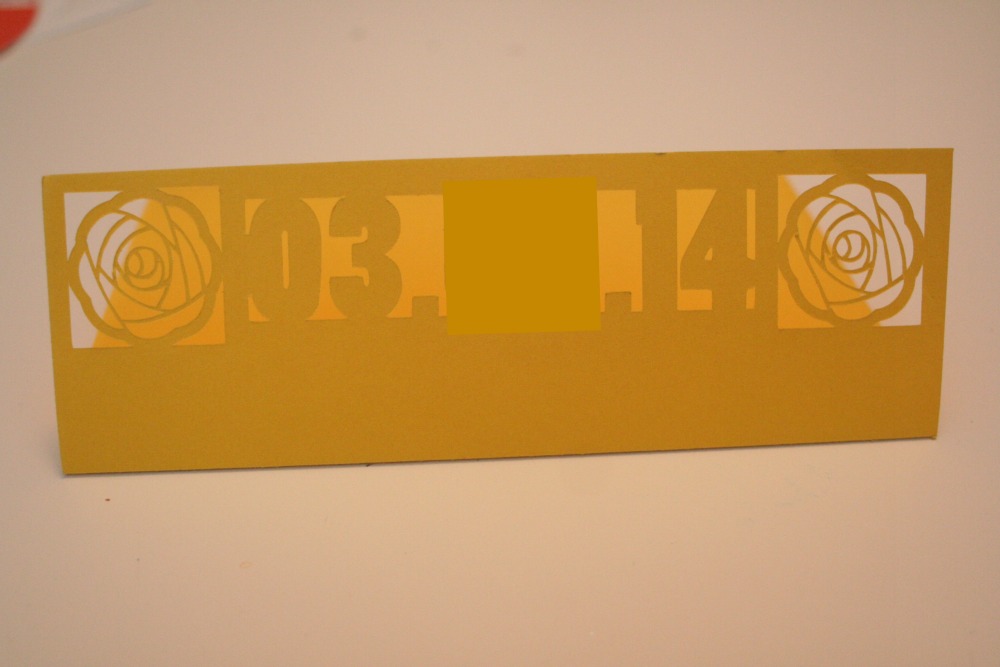
IMG_3450I thought about adding our date into the flap, along with some roses (which will probably appear in the invites)… // Personal photo
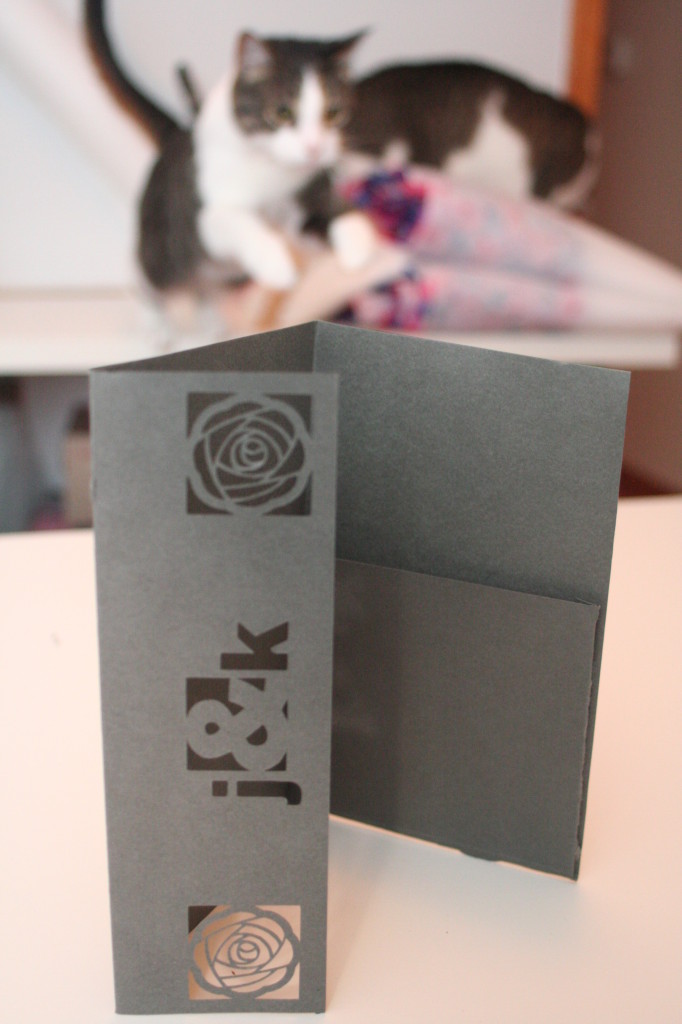
IMG_3453Or maybe our initials and an ampersand would work better… (Belle was jumping for joy at this one) // Personal photo
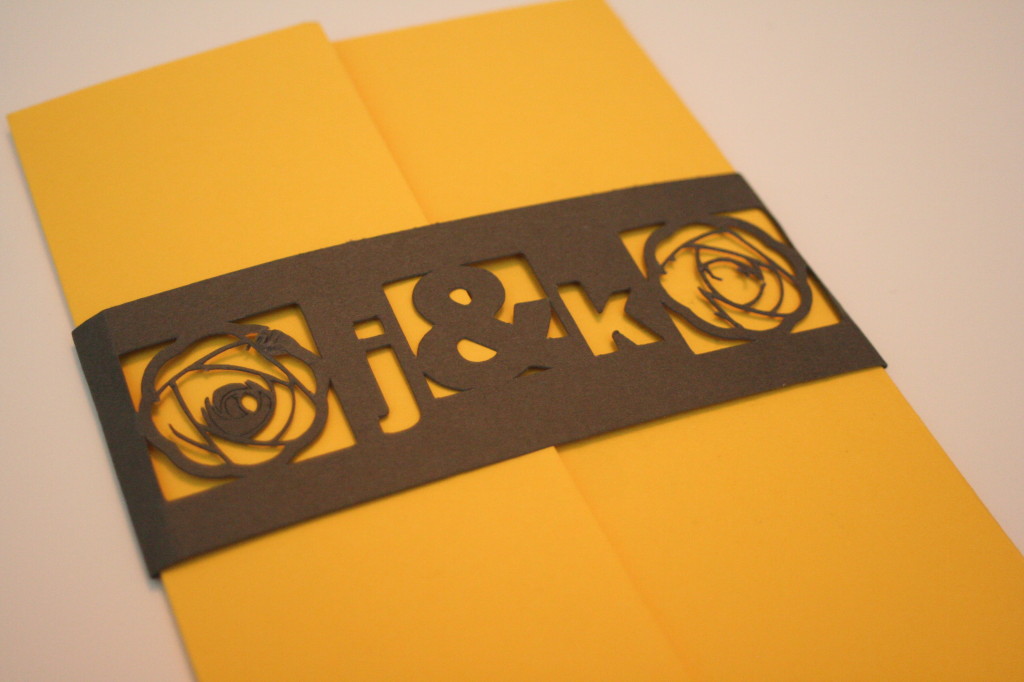
IMG_3456Or maybe a belly band with the detail would be nice (don’t mind the wonky flowers – I didn’t have it on the right setting) // Personal photo
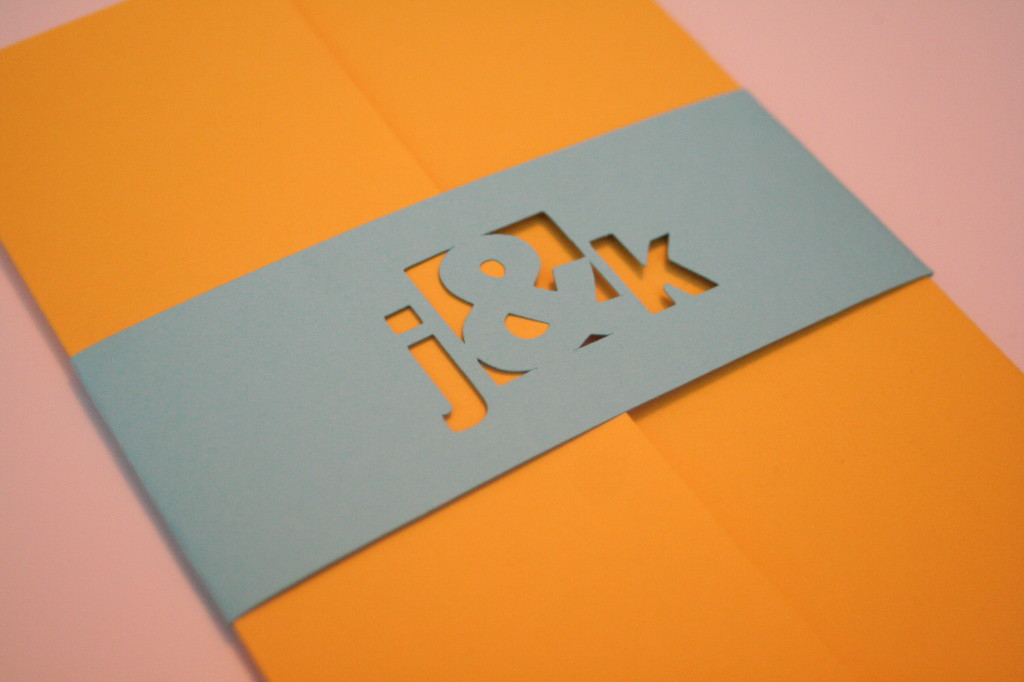
IMG_3458Or maybe sticking with just our initials and an ampersand in the belly band. // Personal photo

So what do you think? Are you feeling the cutouts in the flap of the pocketfold or is the belly band the way to go? Am I crazy for taking DIY to another level by cutting my own pocketfolds?

I had some unfortunate luck with my junior prom and senior ball dresses in high school and promised myself I would find and LOVE my wedding dress one day. I was okay with spending $1,000 on a dress and actually budgeted for $1,200 just to be sure I would get something I loved. Well, I was able to find a dress I love for $200 and my budget breathed a big sigh of relief. That didn’t last too long as I figured out new ways to spend wedding dollars.

I love scrapbooking and crafting. I have had my eyes on a Cricut for as long as I can remember – a papercrafting machine that cuts intricate designs and text at the push of a few buttons. It costs a couple hundred dollars plus the cost of the cartridges with the designs. I’ve never felt okay with taking the leap in purchasing one.

Fast forward to a couple of years ago when I found one of my favorite blogs, I Heart Organizing. Jen Jones is a great writer, has amazing organization ideas and does great things with something called a Silhouette Cameo. I had no idea what this machine was until I started reading her blog religiously but I immediately began to swoon over it. It’s similar to the Cricut but you can purchase images based on what you need and at a much lower cost than a Cricut cartridge. Plus, you can use fonts already on your computer and there is a computer program the entire thing runs off of. The more projects of Jen’s that I saw, the more I pined for a Silhouette.

The design on the tray and the cute fish on the container are vinyl cutouts made with the Silhouette. // Source: I Heart Organizing

Jen transformed plain vases into amazing home decor using vinyl from the Silhouette and some glass frosting spray. // Source: I Heart Organizing

Even though the Silhouette had its perks over the Cricut, I still couldn’t bite the $300 bullet and purchase one. Well, that was until my wedding dress savings created wiggle room in my budget and splurged on one! I found a great bundle deal on Amazon and a couple of days later, the Silhouette was at my door!

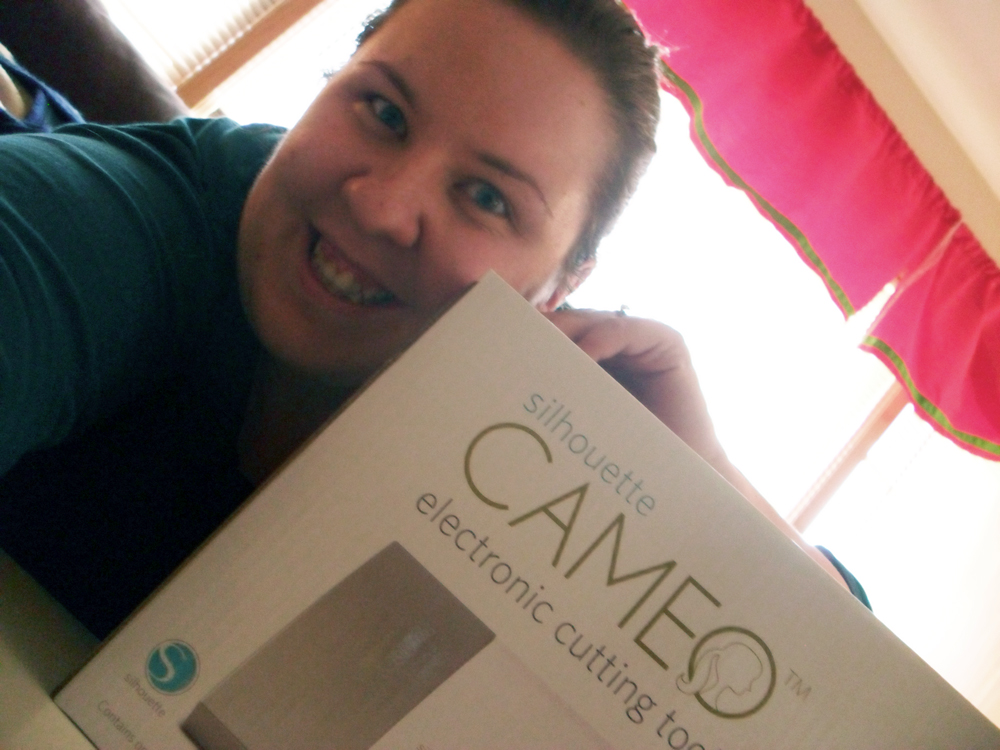
SAM_0367eJust a girl and her Silhouette Cameo (and a Christmas valance that needed to be taken down) // Personal photo

One of the main reasons I could justify the purchase of the machine was the amount of things I can use the Silhouette for. I’ve been playing around with it and have come up with a couple of great ideas already including pocketfolds and belly bands for the invitations. Under normal circumstances, I wouldn’t have purchased the machine due to cost but so far I love it! Once I get the hang of things, I’ll be sure to share some of the awesome ways I have found to use it.

Did anyone else splurge a little when they saved money on a wedding-related expense? Any brides out there have a Silhouette and care to share projects they completed with it?

This past weekend I went to see Mini and she used her skills to help me feel like the Kardashian I dream to be. Per my request, I left the salon with ombre hair!

20130727_112321Selfie in the salon mirror #noshame // Personal photo

Before I left the salon, Mini told me I had to do something with Mr. PB that day, after all I had a fun new hairdo and she took the time to curl it for me. Mr. PB and I had been talking about going to look at wedding bands and I used my fancy hair to my advantage. Off to Kay we went!

We worked with a friend of a friend to purchase my engagement ring and he was working on Saturday. When we got there, he was with a client so we putzed around and browsed until he was available. Seeing my engagement ring was a wedding band with a solitaire diamond added, I figured I didn’t really need to pay much attention to the women’s wedding bands because I would just get the same band as my ring. To make it a little more special, I’d add some gemstones that coordinate with our wedding palette. Boom, bam, done. We looked at some ring options for Mr. PB and after some time, the salesperson was ready for us.

We plopped down in front of the women’s bands and I began to look around the case, not noticing my band right away. Turns out it had been discontinued. Hmph. I didn’t expect to have to think about options so I was a bit thrown off as different ring ideas were being shown to me. I was really in love with the idea of gemstones in my wedding band, we are having jewel tones as our colors, it just makes sense.

Option 1: A similar band of smaller straight diamonds and add gemstones to that.
Problems:
1. The stones in the ring were smaller, just enough to seem off compared to the stones in my e-ring.
2. We would purchase the band as is (with the 11 diamonds) and then have them add the six gemstones in, leaving us with six small loose diamonds that were too small to do much with.

Option 2: Two thinner bands of diamonds to go on each side of my e-ring.
Problems:
1. The bands were thinner and the diamonds smaller so they look slightly off compared to my e-ring.
2. With the size of the diamonds being smaller and there being two bands, it wouldn’t make sense to change diamonds out for gemstones.
3. Option 2 is more expensive than option 1. (but double the diamond weight)

I was debating between the two but Mr. PB was all about option 2. He said “you only get wedding rings once, might as well go big.” How is it the groom is more in love with bling than the bride? There must be something wrong with me! The salesman agreed with Mr. PB and I decided it was indeed better to go big or go home. I carried the rings around with me as Mr. PB checked out wedding band options and kept looking at them, trying to make sure that I made the right choice. Each time I looked at my ring finger, I felt like it was a big band of bling, three straight lines of diamonds together. My poor e-ring seemed to be getting lost among its new neighbors. As I was distracted by all the bling, Mr. PB quickly decided on a cobalt ring.

 970628_10101208162719178_560564957_n
Ring, ring , ring, ring! // Personal photo

Mr. PB and I brought our wedding bands home that day but I left my e-ring at the store to be serviced in preparation for our engagement photos. I kept thinking about the wedding bands and if it was too much with my engagement ring but haven’t been able to look at them all together since then. I even went onto the Weddingbee Boards to try and get some help. With more than 130 votes in the poll, 65 percent of Hive members say to stick with the double rings and 35 percent say to change it for something different.

So what do you think? Should I stick with the double bands and write off my ring regret as being silly? Or should I go back to the drawing board and find a way to include the gemstones like I originally wanted?